Designing an efficient kitchen starts with making some of the biggest decisions that will set the foundation for the entire project. One of these initial steps is selecting a design-build firm that aligns with your vision and budget. A firm that understands your needs and has a proven track record in kitchen renovations can make the process smoother and more efficient.
Next, you need to figure out the overall kitchen layout. This involves deciding where major components like the sink, fridge, and stove will go. The layout is crucial for ensuring a workflow that minimizes unnecessary movement while cooking. Remember, the goal is to optimize the available space rather than simply enlarging the kitchen.
Another critical aspect to consider is the dimensions of your cabinetry. Well-planned cabinetry ensures that your kitchen remains functional and organized. Custom cabinetry can be tailored to fit specific needs and dimensions, making it easier to store kitchen essentials without clutter.
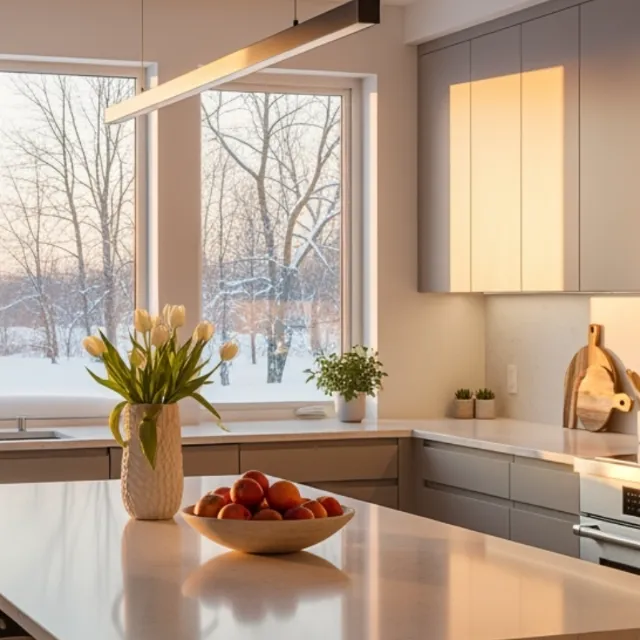
Ultimately, the focus should be on maximizing the efficiency of the space rather than its size. A well-optimized kitchen layout can make even a smaller kitchen feel spacious and functional, ensuring that everything you need is within easy reach.
One of the first steps in creating an efficient kitchen layout is deciding on the large appliances and sink. These are the workhorses of your kitchen, and their placement can significantly impact the overall functionality.
When selecting new appliances such as a dishwasher, fridge, rangetop, oven, and microwave, it's essential to know their specifications and dimensions. This knowledge will help you plan the layout more effectively and ensure that each appliance fits perfectly into the designated space.
Many homeowners prefer gas rangetops over electric cooktops or ranges due to their powerful performance and precise temperature control. A gas rangetop built into the kitchen island can provide easy access to cooking tools and pantry essentials, making the cooking process more efficient.
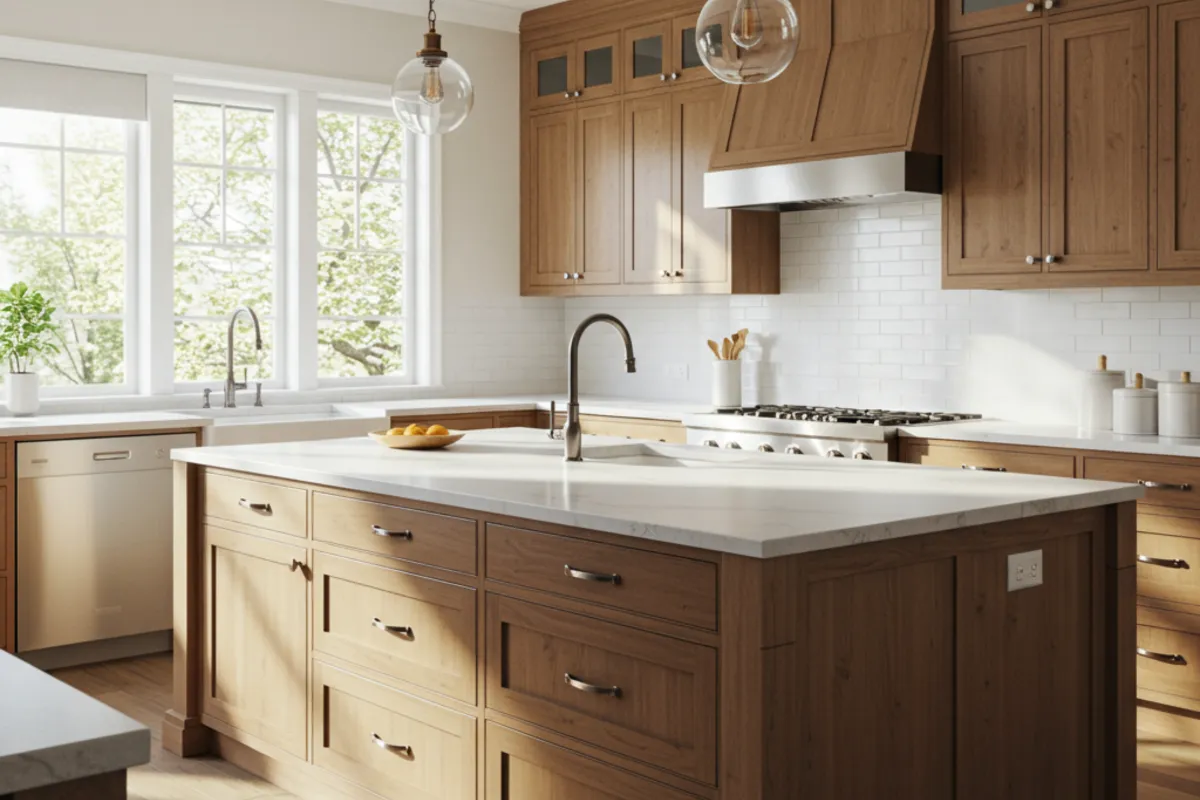
The placement of these appliances is also crucial. The concept of the "working triangle"—keeping the sink, dishwasher, rangetop, and fridge close together—ensures that you can move seamlessly between tasks. Additionally, having open countertop space within this triangle allows for easy prep and placement of ingredients and utensils.
To maximize efficiency in your kitchen, it's helpful to think in terms of zones. Dividing the kitchen into four functional zones—Prepping, Cooking, Clean-up, and Putting Away—can streamline your workflow and make the space more user-friendly.
The Prepping Zone is where you'll gather ingredients, rinse them, and prepare them for cooking. Ideally, this area should be close to the Cooking Zone to minimize movement. Keep prep tools like knives, cutting boards, and measuring cups nearby, along with pantry essentials. Storing sheet pans and baking pans in this area can also be convenient.
The Cooking Zone is centered around the range and oven. This is where you'll do the actual cooking, so it's important to have cookware like pots and pans within arm's reach. Keeping cooking tools and seasonings nearby can save time and effort. Ensure there's ample countertop space near the oven for placing hot dishes and trays.
The Clean-up Zone is typically around the sink and dishwasher. This is where you'll stack and transfer used items during and after cooking. Having a designated area for clean-up can make the process more efficient and less stressful. Consider cleaning up during cooking downtimes to keep the kitchen tidy and organized.
The Putting Away Zone is where you'll store leftovers and other post-eating essentials. Ideally, this area should be near the fridge. Store items like Tupperware, plastic wrap, masking tape, and a Sharpie for labeling. A magnetic whiteboard for inventory can also be a useful addition.
Once you've established your zones, the next step is to optimize the dimensions of your cabinets and drawers to suit each zone's needs. Custom cabinetry can be designed to accommodate the specific items you'll be storing, making your kitchen more organized and efficient.
Start by measuring the items you plan to store in each zone. This will help you determine the ideal dimensions for your cabinets and drawers. For example, larger pots and pans will require deeper drawers, while small utensils might fit better in shallower ones.
Take an inventory of your current kitchen items to get a sense of what you have and what you'll need to store in your new kitchen. This will give you a clearer picture of how to plan your storage space effectively.
By tailoring the dimensions of your cabinetry to fit your specific needs, you can ensure that everything in your kitchen has a designated place. This not only keeps the kitchen organized but also makes it easier to find and access items when you need them.
Creating an efficient kitchen layout requires detailed planning and thoughtful consideration of your needs and preferences. By focusing on optimizing space, choosing the right appliances, and creating functional zones, you can design a kitchen that's both beautiful and highly functional.
We encourage you to share your tips and experiences in the comments. Your insights could help others who are also embarking on their kitchen renovation journey.
Don't forget to sign up for our newsletter to receive updates and cooking tips. You can also try our meal plan service for free, listen to our podcast for cooking strategies, and join our community for free tips.
By following these steps and resources, you'll be well on your way to bringing your dream kitchen to life.